How to Cut Safety Ropes?
I. Operating Guide for Cutting and Sealing PPE Safety Ropes
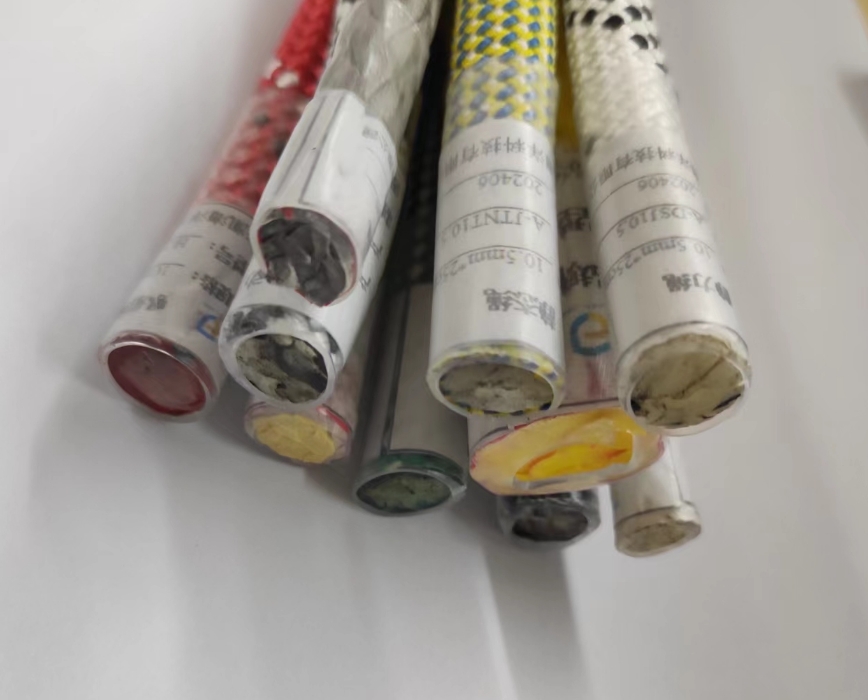
Personal Protective Equipment (PPE) safety ropes used in mountaineering sports and work safety are typically manufactured to specific lengths by producers. During this process, the two ends of the safety rope are cut and sealed using specific methods.
However, in many practical applications, users also need to regularly cut safety ropes and other equipment themselves. This knowledge base article explains how to cut safety ropes, especially how to permanently seal them to prevent the strands from fraying.
Since toxic gases can be produced when melting and bonding chemical fibers, to prevent inhalation, the following work is recommended to be carried out outdoors, using exhaust ventilation equipment, or at least in a well-ventilated indoor area. Furthermore, heat-resistant gloves should be worn; thin leather gloves are recommended. The work should also be performed on a heat-resistant surface.
The process of cutting a safety rope always begins by stripping back the last meter of the rope. This allows the sheath to be firmly fixed to the core. If the core retracts into the sheath during stripping, sufficient margin must be left at the cutting point to ensure the entire core is accessible.
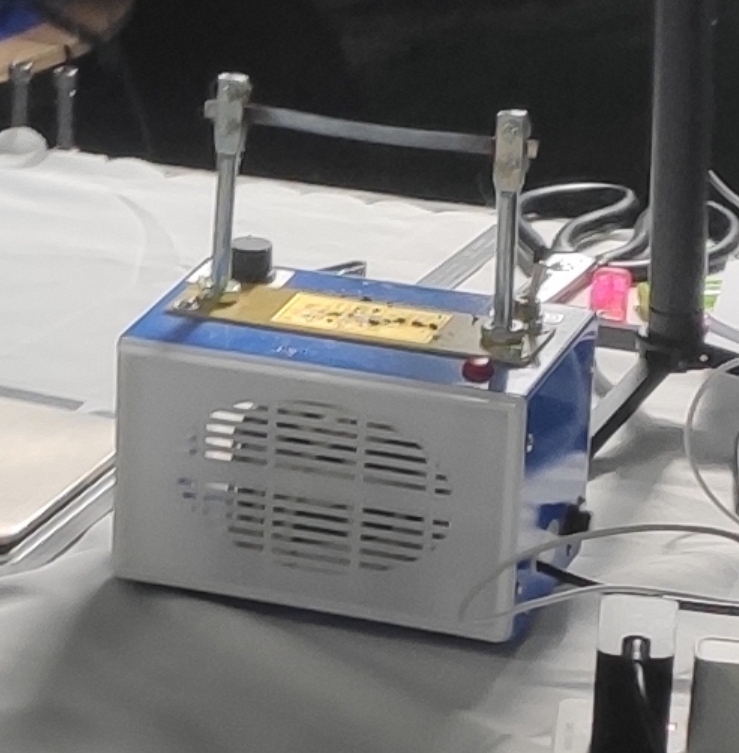
The next major challenge relates to material composition. In most safety ropes, static ropes, and dynamic ropes used as PPE, both the sheath and core are made of nylon. Nylon material can be easily melted and thus sealed. The best tool for this job is a specialized rope cutting device, which is essentially a soldering iron equipped with a cutting blade.

Rope Cutting Equipment
II. Thermal Cutting and Smoothing of Safety Ropes
When using the flat blade of a thermal cutting device, first smooth the sheath in the predetermined cutting area. This melts the yarn fibers of the sheath, creating a transparent surface. Then, apply gentle pressure to cut the rope with the preheated blade. For any burrs produced after cutting, use the blade for smoothing.
If a professional thermal cutting device is not available, you can use a camping stove or lighter as an alternative. The steps are as follows:
Strip the Rope: First, strip back the end section of the safety rope that needs to be cut.
Melt the Sheath: Heat the stripped sheath over the flame until it melts in the predetermined cutting area, becoming smooth.
Cut the Rope: Use a carpet knife to make a quick, clean cut through the melted area.
Smooth the End: Melt the exposed fibers over the flame again, then quickly rub them against something like a heat-resistant glove while the plastic is still warm to smooth the cut end and remove burrs.
While this method is simple, it requires some skill and careful operation to ensure safety and cut quality.

III. Handling Techniques for Ropes Made of Other Materials
If the safety rope or webbing is made of different materials, the process becomes more complex. Some ropes have a core of Dyneema with a nylon sheath; some have an aramid core with a polyester-containing sheath; some have a nylon core with a polyester sheath; or the sheath might be made of nylon and aramid, among all other possible combinations. The issue here is that these materials may not bond to each other when melted, or, like heat-resistant aramid, may char or burn rather than melt properly.
For ropes made of polyester blends, a neat cutting and sealing method can be used. After cutting the rope with a thermal cutter, use the same device's blade to make a lateral cut across the rope end. Then, rotate the rope 90 degrees and make another lateral cut. This significantly enlarges the melted area. As the fibers cool and harden, they form a physical interlock rather than relying on chemical bonding. Finally, smooth the surface of the melted area again with a knife to ensure a neat and smooth finish. This method is practical and effective for scenarios requiring physical sealing rather than chemical bonding, ensuring the rope's safety and durability.
IV. Adhesive Bonding Method for UHMWPE and Aramid Ropes
For ropes made of Ultra-High Molecular Weight Polyethylene (UHMWPE) or aramid, traditional heat treatment is not ideal. The specific properties of these materials mean they may not melt properly when heated; aramid, being heat-resistant, may char or burn instead of melting. Therefore, for combinations involving these materials, the best practice is to use adhesive for securing the end.
The operating steps are as follows:
Wrap with Adhesive Tape: First, wrap adhesive tape around the rope at the predetermined cutting point to secure the area to be cut.
Cut the Safety Rope: Then, using a sharp knife, preferably a carpet knife, cut the rope cleanly through the middle of the tape.
Apply Adhesive: Next, apply a low-viscosity, fluid adhesive, preferably based on cyanoacrylate (i.e., super glue), to the exposed cut end. This glue will be quickly absorbed by the fibers and bond them.
Operational Safety: During operation, ensure using an appropriate surface, gloves, and sufficient ventilation to avoid inhaling any fumes.
Remove Tape (Optional): The tape can be removed after the adhesive sets, but this is not a mandatory step.
Additional Reinforcement: If needed, applying a small amount of adhesive to the last few centimeters of the rope end and letting it be absorbed can add extra stiffness and bond the fibers, providing additional strength and durability.
As with all PPE products and maintenance measures, don't forget to re-mark the safety rope and record the work!
1. Re-marking: After cutting and sealing the rope, it needs to be re-marked to ensure its identifiability and traceability. This includes marking the rope's length, date, and any other relevant information such as manufacturer, model, and any special treatments.
2. Record Keeping: Documenting the work performed is a crucial part of maintaining PPE integrity. This helps ensure the rope's safety and compliance and provides a reference for future maintenance and inspections.
